
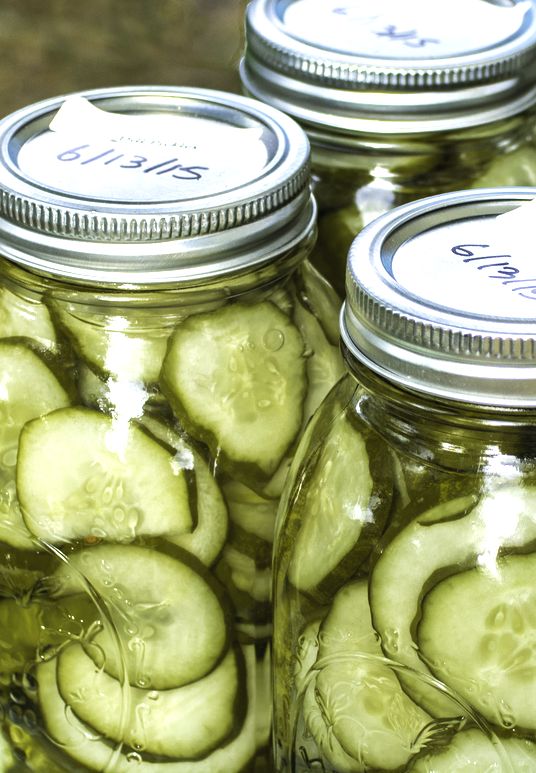
Quick Refrigerator Dill Pickles
Prep Time: 10 minutes | Servings: 9
When harvest finally hits and you're inundated with fresh cucumbers, there are only so many you can chop up for salads and garnishes. Whether you're pickling out of sheer necessity for preservation, or because you have a pickle obsession, pickling is very easy to do at home. How easy? This method of pickling will only take about 10 minutes to prepare and will yield tasty pickles overnight without requiring any special equipment!
Why use the refrigerator method?
What always kept me from attempting pickling at home was the wait time. I always assumed that making delicious pickles required lots of planning and waiting or might require some special machine or fancy jars. Discovering the quick refrigerator method changed my perception. As soon as a I realized how easy it was, I got straight to work so I could satisfy my craving without having to wait around.
Note: Refrigerator pickles aren't shelf-stable, but so long as they are kept refrigerated, they should last for up to 6 weeks (more than enough time to eat them up).


Shop The Recipe
The line-up

Prep Time: 10 minutes | Servings: 9
INGREDIENTS
5-7 pickling cucumbers (sliced)
Recommended variety: Boston Pickling
1 Cup white vinegar
2 Cups water
2 Tbsp kosher salt
6 Dill sprigs
1 Tbsp sugar (optional)
1/2 Head of garlic (peeled and smashed)
5 Peppercorn kernals
EQUIPMENT
Refrigerator
2 Quart sized jars (a great opportunity to re-use glass mason jars, recycled pasta sauce jars or other re-usable sealing containers)
the playbook
Step One: Slice and Dice
- Slice cucumbers into thin slices or spears (according to preference)
- Peel, then smash or chop garlic
- Chop dill (medium coarseness)


Step Two: Brine
- Combine water, vinegar salt, garlic, pepper, dill and sugar (optional) in medium bowl
- Stir until sugar and salt have dissolved
- Taste and adjust as needed (according to preference)
Step Three: The Transformation
- Add sliced cucumbers to jars
- Pour in brine (If the brine doesn't completely cover the cucumbers, don't worry. The salt will pretty quickly extract the extra liquid from the cucumbers)
- Seal up the jars and give them a good shake
- Place jars in the refrigerator
- Shake jars every 2-3 hours for good measure

Step Four: Wait... (but not long)
- After about six hours in the fridge, give or take, the pickles will reach their full saturation and will be ready to eat!
- If they don't seem quite complete, they may take a few extra hours to reach full flavor (this depends on the salt and vinegar content of the brine as well as the thickness of the cucumber)
- Keep refrigerated
- Serve on sandwiches, with a charcuterie board or eat them straight out of the jar
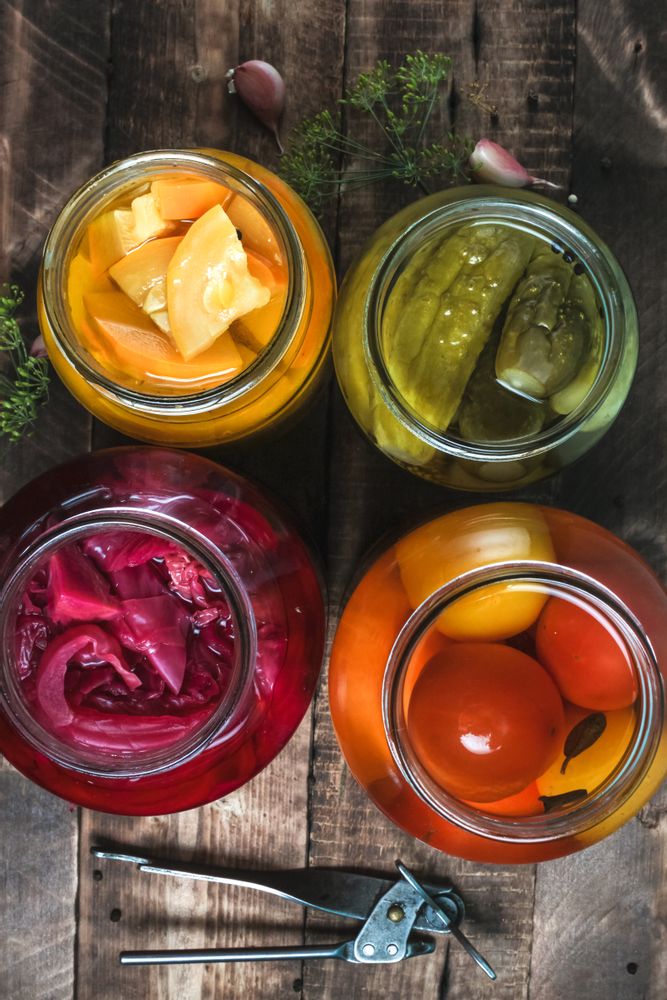
Step Five: Pickle Everything
Once you've picked up this new skill, you'll be dying to try your hand at all kinds of pickling. The good news is: this pickling method can be applied to a wide variety of vegetables. You may also like to experiment with adding other spices and herbs, or even different types of vinegar.
Some other vegetables that take well to pickling:
Carrots
Jalepenos
Okra
Radishes
Green Beans
Onions
Cauliflower
Cabbage
Cherry Tomatoes
2 comments
I love this recipe. I haven’t been starting any new projects as of late but this is going to be the next recipe I recreate! Hopefully I can make it look as good as yours.
Making home made pickles from a large crock